Do you want to make sure your garden is blooming to its max capacity this season? Ensure your flora are all being pollinated by creating an environment where bees want to and CAN visit while on their journey for nectar. It takes more than just flowers to draw bees in. You need to give them a reason to stay and linger long enough so they don’t overlook your many flowers. Having flowers and nectar for bees to consume is essential to attracting them, but an often overlooked necessity for bees is water.
Yes- bees need water! Not sure how bees drink? Check out this video here to watch how they hydrate using their tongue-like structure. Instead of lapping up water and nectar the way dogs and cats do, bees suck it up like a straw. This ability to suck up not only water, but also nectar is far more complicated than it may sound. The viscosity of water and syrupy nectar are completely different. They require different adaptions to consume both different types of liquids. In fact, bees “tongues”have been likened to a Swiss army knife by one scientist for how versatile they are and how they are able to pick up so many different viscosities, all at the same time. Read more about bee studies and how bees are able to go from one drinking mode to another in the article “A Honeybee’s Tongue is More Swiss Army Knife Than Ladle” from the New York Times.
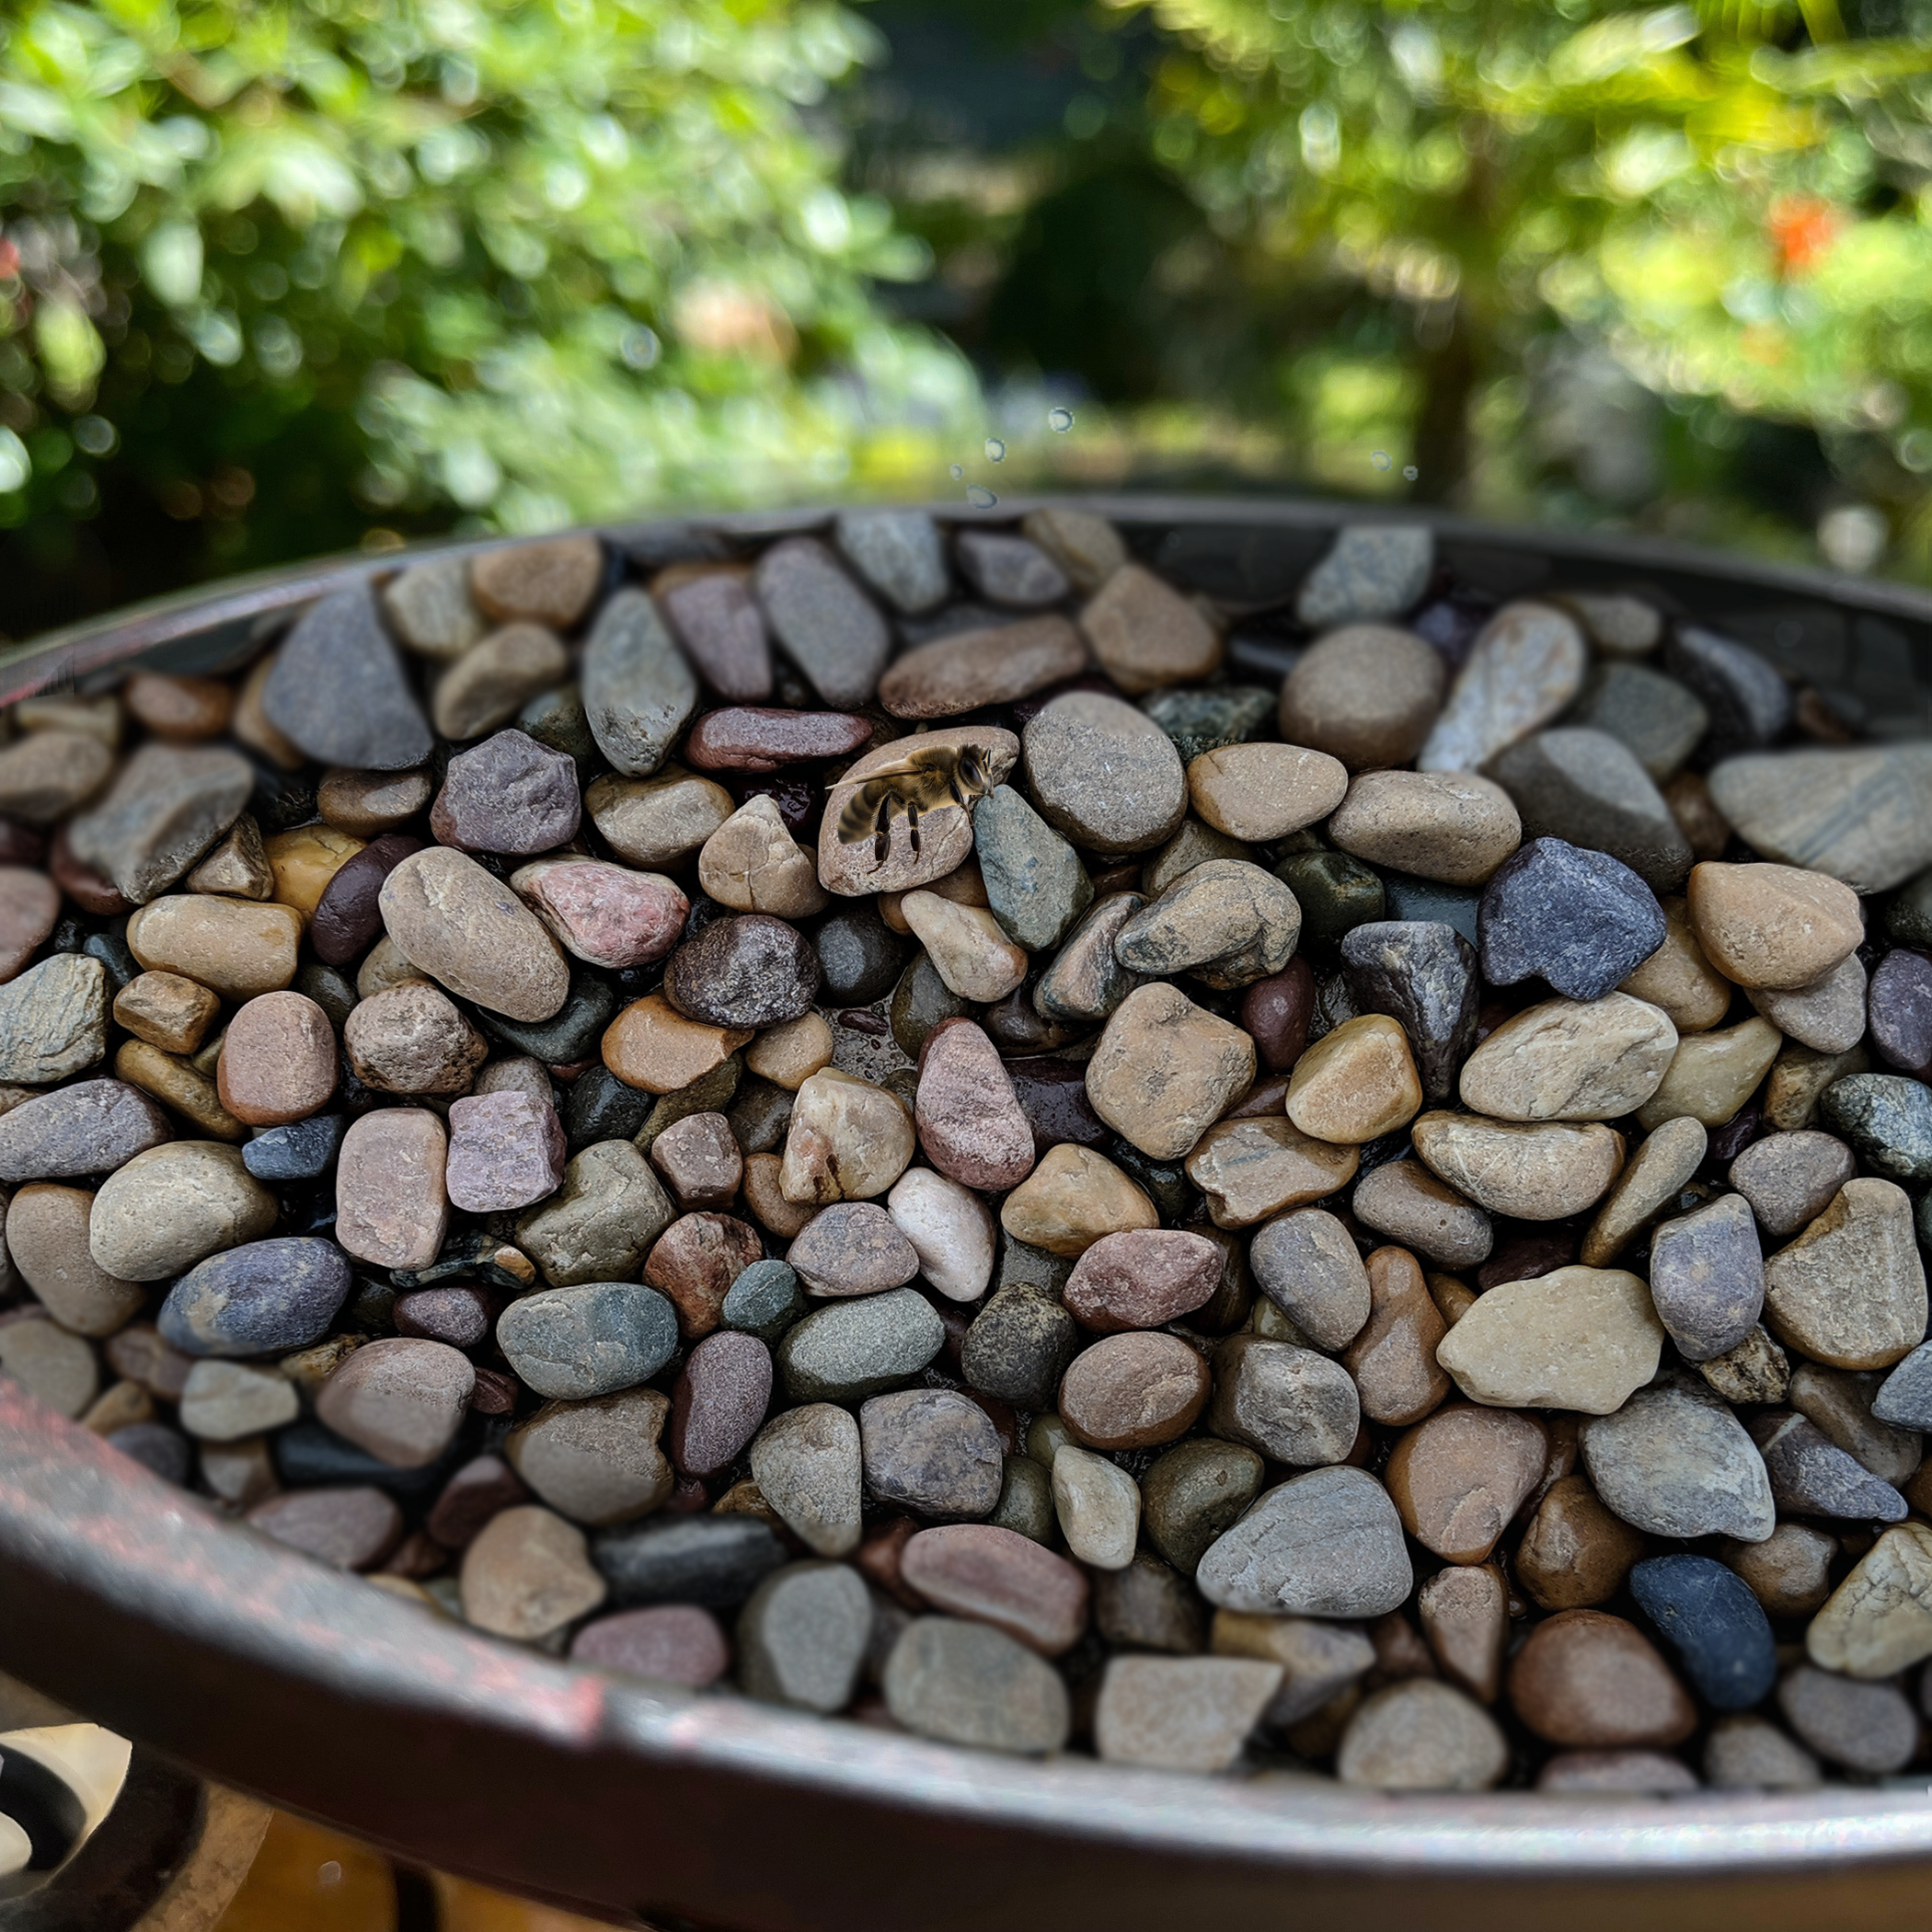
You can create your own DIY Bee Bath for bees to rest and rehydrate using just 2 materials: a bird feeder and pebbles. This is a great craft for those who have an old bird bath they want to revamp or those looking to add some decorations and life to their yard. If you don’t have a bird feeder already, head to your local thrift or garden store. Look for a bird bath that’s not too deep but deep enough where pebbles can be added without spilling out. Your pick as to whether it is tall or short, but we recommend you buy this based off of the flowers you have at home. If you have tall flowers, pick a bird feeder that is a bit closer in height to where the buds bloom from. If you have shorter stemmed flowers, choose a bird bath that is lower to ground. Most importantly, pick one you like and one that you feel matches your garden space. We’ve linked some inspiration for you here.
Choose a spot for your bee bath and place your bird bath accordingly. Fill the bird bath with pebbles so that the bottom is covered, but you can play around with this too. If you want a more busy looking bath, add more pebbles. If you want something more minimalistic looking, add just a few big rocks. If you don’t want pebbles, you can add marbles or any other non-toxic, waterproof material that a bee can perch on and reach water from. Next, slowly add water to the bird feeder. Don’t add too much water. Fill with water until the bottom of the pebbles are just submerged. You need to make sure there is large enough dry areas for bees to easily land but you also want to make sure the water is high enough where the bees can reach it. If you don’t have flowers planted yet, plant them! Before you break ground, look at your bird bath and note how much shadow it casts, where it casts it, and when. In the areas that are dominated by shade most of the day, plant flowers that don’t need as much sunlight and vice versa.
Materials:
1 Bird bath (new or reused)
Pebbles, marbles, rocks, etc.
Water
Flowers
Directions:
- Position bird bath outside
- Fill with pebbles, rocks, marbles, etc.
- Add water, leaving dry spots for bees to land
- Plant flowers nearby
Just like that, you have created an oasis for all your weary bee travelers to rest and relax in between their long trek from your garden to their hive. Keep on eye on the water levels in your bath and enjoy the sight of new bees in your yard!